🎢 Login
Step 1.1 - Creating the login button
First, we need to create the "Connect to Edusign" button. To do this, we need to create a link with certain parameters:
- client_id - The client ID we retrieved earlier
- response_type - The type of response to the callback URL
- id_token code
- code ( recommended )
- id_token
- response_mode - Can have 3 different values, depending on your needs:
- form_post
- query ( recommended )
- fragment
- redirect_uri - The URL to which the user will be redirected after logging in, and which will receive the response_mode code in query ( if query has been selected ).
This URL must first be configured in the project parameters ( see Step 1 ) - scope - Takes one of the following values, for each value the associated fields will be available in the user details returned by the token on the
/tokenroute call. These values must be separated by a space. openid( required for minimum information, including user_type )- user_type ( student, school, professor )
emailprofile- firstname
- lastname
- username (Student only)
- training_name (Student only)
- company (for student only)
- speciality (for teacher only)
- permissions (Administrator only)
Here is an example of an applicable route:
<https://auth.edusign.com/auth?client_id=zrj856zc9tlsnp&response_type=code&response_mode=query&redirect_uri=https://monsuper.site/callback/url&scope=openid%20email%20profile%20address>
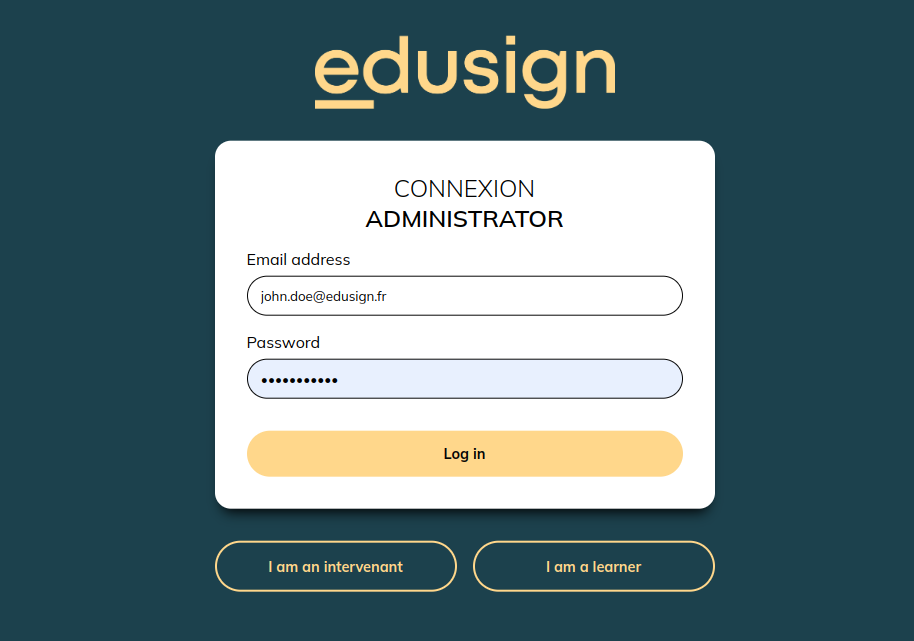
If you want to have a direct learner, lecturer or administrator login button, you can prefix the url with the user type (student, professor, admin) as shown below. Unlike the previous example URL, this URL will redirect you to a login page targeted to a specific user type.
- As a student: https://auth.edusign.com/student/auth?client_id=zrj856zc9tlsnp&response_type=code&response_mode=query&redirect_uri=https://monsuper.site/callback/url&scope=openid%20email%20profile%20address
- As a teacher: https://auth.edusign.com/professor/auth?client_id=zrj856zc9tlsnp&response_type=code&response_mode=query&redirect_uri=https://monsuper.site/callback/url&scope=openid%20email%20profile%20address
- As administrator: https://auth.edusign.com/admin/auth?client_id=zrj856zc9tlsnp&response_type=code&response_mode=query&redirect_uri=https://monsuper.site/callback/url&scope=openid%20email%20profile%20address
Step 1.2 - User login
At this stage, you don't need to do anything - the user enters his or her login details.

Once this step has been completed, the user will be automatically redirected to the redirection URL you entered in step 3.1.
Step 1.3 - User identification
Your callback URL has been called, and you should have received a code. This code is for one-time use only, and once it's been used it's no longer valid, so it doesn't really represent anything.
To obtain your user's identity, you'll need to call the /token route.
Let's assume that you've received a code from a student authentication tunnel. POST the url https://auth.edusign.com/student/token with the following parameters in x-www-form-urlencoded :
- grant_type
- authorization_code
- code
- The code obtained via the callback url
- redirect_uri
- The redirect url previously supplied
You'll also need to authenticate yourself, for which you have 2 options:
- Either provide them via a Basic Auth, i.e. an "Authorization" header
- ex:
Authorization: cmF0w6lfeWFfcmllbl9kZTpjYWNow6lfaWNpIQ==wherecmF0w6lfeWFfcmllbl9kZTpjYWNow6lfaWNpIQ==is in fact{client_id}:{client_secret}base64 encoded
- ex:
- Or we can give them via the parameters as for the other parameters, i.e. :
- client_id
- The client id retrieved in the first step
- client_secret
- The secret client retrieved in the first step
- client_id
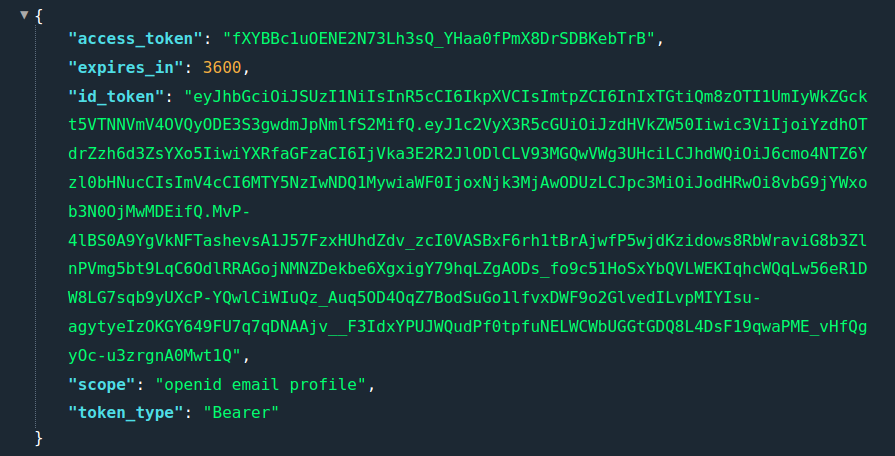
Once the url has been called with the correct parameters, you'll obtain a JSON in the form of

If you pass the id_token in the https://jwt.io/ site, you'll see that there's only the user_type, which represents the user type, and other technical fields such as sub, which represents the user id.
If you wish to have the various information requested via the scopes in step 1.1, you'll need to call up a new URL
Updated 5 months ago
